

-
Prep Time20 minutes
-
Cook Time30 minutes
-
Serving12
-
Serv Size1 brownie
Easy Halloween Monster Eye Brownies
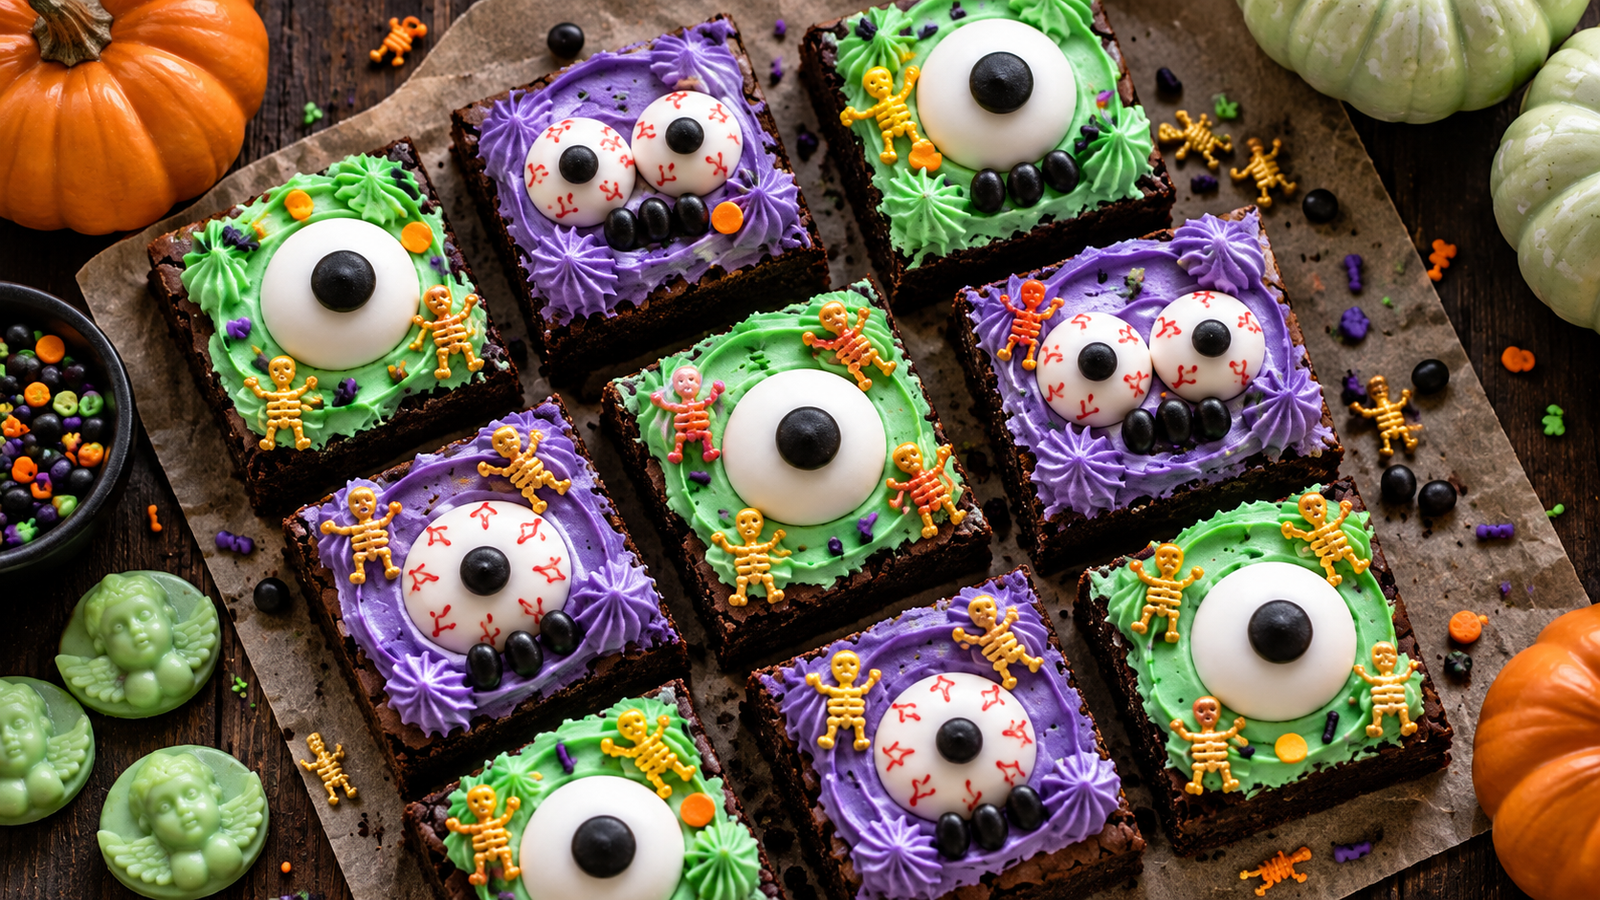
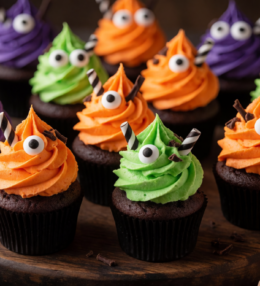
These Halloween Monster Eye Brownies are a fun, chocolatey treat for spooky season! Made with rich, fudgy brownies, colorful frosting, and playful candy eyeballs, they are perfect for Halloween parties, classroom celebrations, or a festive family baking night.
The best part? You don’t need any complicated decorating skills. A few swirls of frosting and some candy eyes transform ordinary brownies into adorable little monsters.
Why You’ll Love These Halloween Brownies
- Rich and fudgy: Soft centers with deep chocolate flavor.
- Easy to decorate: No special cake-decorating experience needed.
- Party-friendly: Perfect for Halloween dessert tables.
- Kid-friendly: A fun decorating activity for the whole family.
- Customizable: Use your favorite Halloween frosting colors.
Ingredients You’ll Need
These brownies use simple pantry staples, plus a few colorful decorations.
- Butter: Creates a rich, tender brownie texture.
- Granulated sugar: Adds sweetness and helps form a delicate crust.
- Eggs: Give the brownies structure and moisture.
- Vanilla extract: Enhances the chocolate flavor.
- Unsweetened cocoa powder: Provides deep chocolate flavor.
- All-purpose flour: Holds the brownies together.
- Salt: Balances the sweetness.
- Powdered sugar and butter: Form the frosting base.
- Food coloring: Creates spooky green and purple frosting.
- Candy eyeballs: Turn every brownie into a little monster.
How to Make Halloween Monster Eye Brownies
Step 1: Prepare the Pan
Preheat your oven to 350°F (175°C). Line an 8-inch square baking pan with parchment paper, leaving some overhang for easy removal.
Step 2: Mix the Wet Ingredients
Whisk the melted butter and sugar together until combined. Add the eggs and vanilla extract, then whisk until smooth.
Step 3: Add the Dry Ingredients
Gently stir in the cocoa powder, flour, and salt until just combined. Avoid overmixing to keep the brownies fudgy.
Step 4: Bake the Brownies
Spread the batter evenly into the prepared pan. Bake for 25–30 minutes, or until a toothpick inserted near the center comes out with a few moist crumbs.
Step 5: Cool Completely
Let the brownies cool completely in the pan before lifting them out and cutting them into 12 pieces.
Step 6: Prepare the Frosting
Beat softened butter until creamy. Gradually add powdered sugar, milk, and vanilla extract. Divide the frosting into two bowls and color one green and the other purple.
Step 7: Decorate Your Monsters
Pipe or spread colorful frosting onto each cooled brownie. Add candy eyeballs in different arrangements to create silly, spooky monster faces.
Tips for Perfect Monster Brownies
- Do not overbake; slightly moist crumbs are ideal for fudgy brownies.
- Allow the brownies to cool fully before frosting.
- Use gel food coloring for vibrant colors without thinning the frosting.
- Try different candy eye sizes for more playful monster designs.
- Use a piping bag or a zip-top bag with the corner snipped off.
Fun Halloween Decorating Ideas
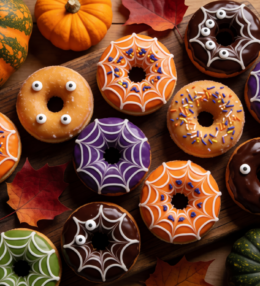
Get creative with orange frosting, Halloween sprinkles, mini chocolate chips, or colorful candy melts. You can even make one-eyed monsters or add several candy eyes to each brownie for a fun spooky effect.
How to Store Halloween Monster Eye Brownies
Store the decorated brownies in an airtight container at room temperature for up to 2 days, provided the room is cool. For longer storage, refrigerate for up to 5 days and allow them to soften slightly before serving.
Can You Make These Brownies Ahead of Time?
Yes! Bake the brownies one day ahead, cool them completely, and store them covered. Decorate them on the day of your Halloween celebration for the freshest appearance.
Frequently Asked Questions
Can I use boxed brownie mix?
Absolutely! Prepare your favorite boxed brownie mix according to the package instructions, then cool and decorate as described.
Where can I find candy eyeballs?
Candy eyeballs are commonly available in grocery store baking aisles, craft stores, and online baking shops, especially during Halloween season.
Can I make these brownies without a piping bag?
Yes. Simply spread the frosting with a small spoon or offset spatula before adding the candy eyes.
Final Thoughts
These Halloween Monster Eye Brownies combine delicious chocolate flavor with colorful, playful decorations. Whether you’re hosting a spooky party or baking with your family, these easy monster brownies are sure to bring smiles to your Halloween dessert table!
Ingredients
Brownie Base
Monster Frosting & Decoration
Nutrition
- Daily Value*
-
Calories — 350 kcal18%
-
Total Fat — 19 g24%
-
Saturated Fat — 12 g60%
-
Cholesterol — 77 mg26%
-
Sodium — 72 mg3%
-
Total Carbohydrates — 46 g17%
-
Dietary Fiber — 1 g4%
-
Total Sugars — 38 g—
-
Protein — 3 g6%
Directions
Bake fudgy chocolate brownies, cool completely, decorate with colorful frosting, and finish with candy eyeballs.
Preheat oven to 350°F (175°C). Line an 8-inch square baking pan with parchment paper.
Whisk melted butter and granulated sugar. Add eggs and vanilla, mixing until smooth.
Fold in cocoa powder, flour, and salt until just combined.
Pour batter into the prepared pan and bake for 25–30 minutes, until a toothpick comes out with moist crumbs.
Allow brownies to cool completely, then cut into 12 squares.
Beat softened butter with powdered sugar, milk, and vanilla until creamy. Divide into two bowls and tint purple and green.
Pipe colorful frosting onto the brownies and add candy eyeballs to create monster faces.
Conclusion
Fun, fudgy Halloween brownies decorated like adorable little monsters!



Leave a Review